Quick start
Graft gives your AI coding agent persistent context about your codebase. This tutorial walks you through installation and your first graph build.
Install and Initialize
Section titled “Install and Initialize”-
Install Graft globally
Terminal window npm install -g @nanonets/graftPrefer not to install globally?
npx @nanonets/graft initworks the same way. -
Initialize in your project
Navigate to your project directory and run:
Terminal window graft initgraft initwill ask which of your coding agents to wire up, build thegraft/graph from your code, and drop a statusline and hooks into your agent’s config (e.g..claude/). From the next session on, Graft rides along in your coding agent: it pulls the matching nodes into each prompt and rebuilds the graph in the background after every turn.Nothing is written until you pick. Run
graft init --dry-runto see every file it would touch first, orgraft init --agents claudeto skip the prompt and wire Claude Code alone.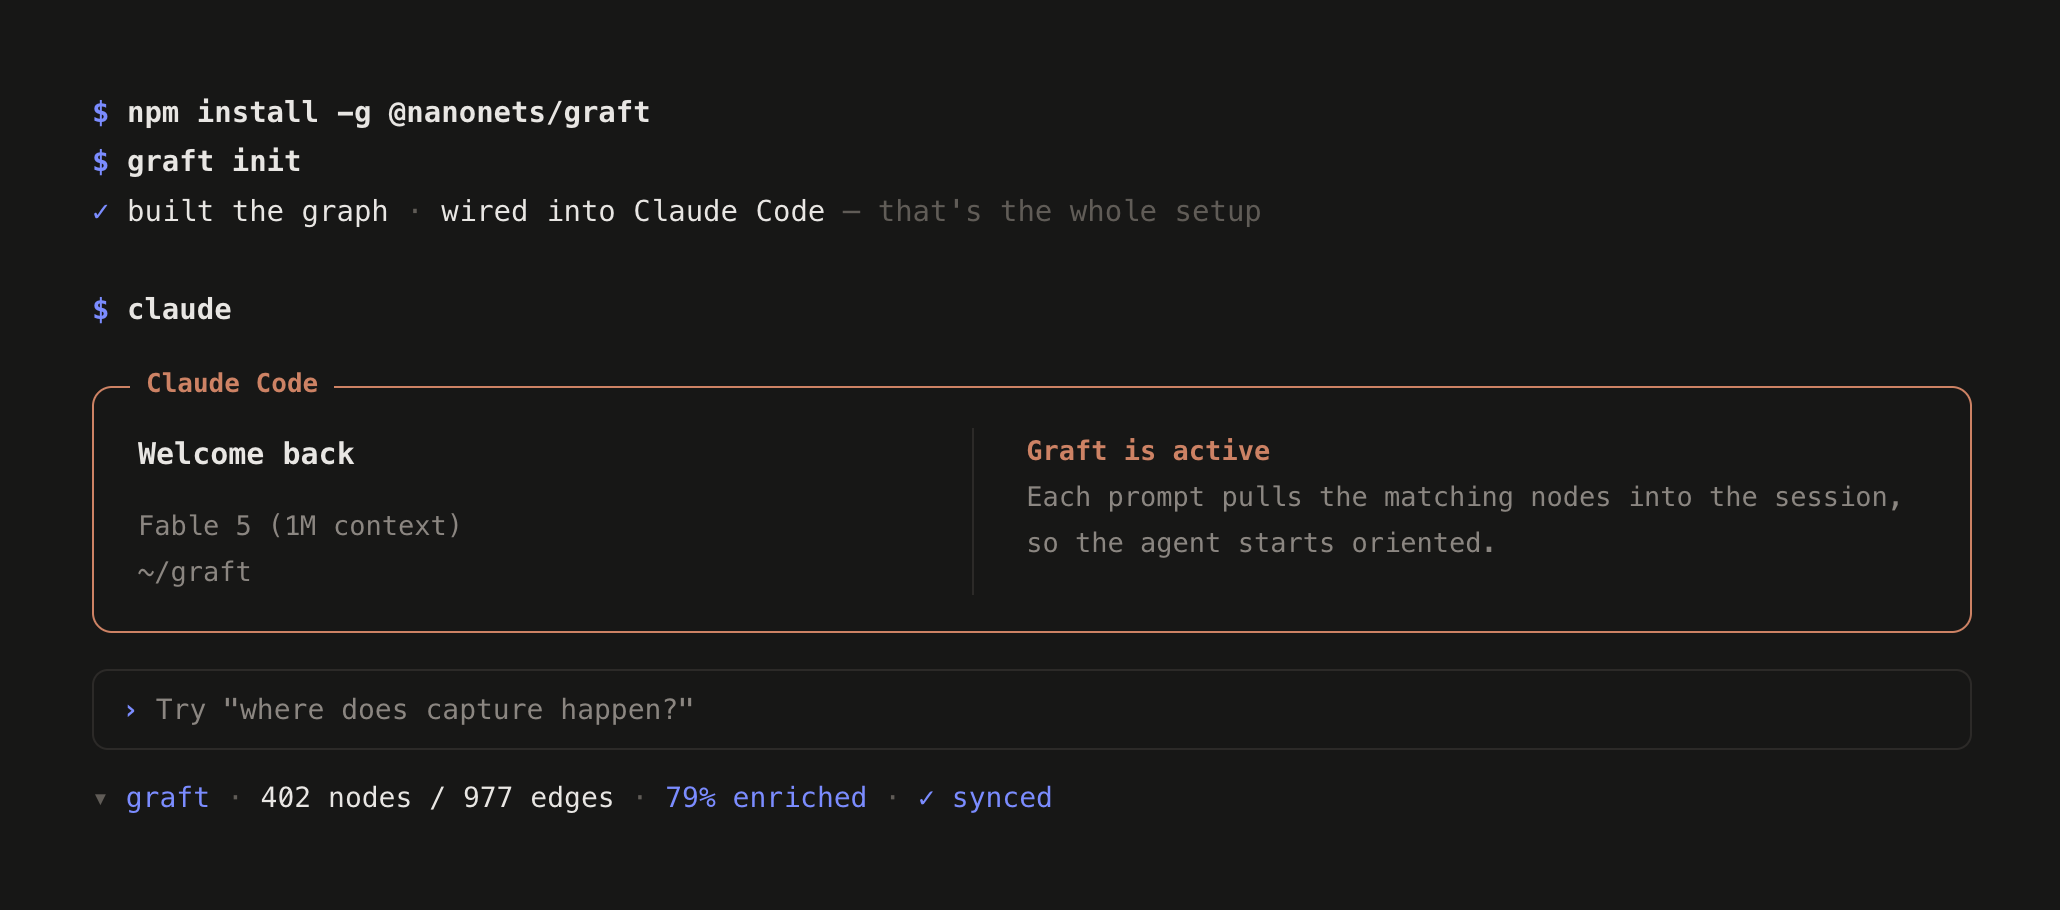
-
Commit the wiring
graft buildaddsgraft/to your.gitignoreautomatically — the graph is a local, regenerable cache (likenode_modules), not something you commit. What you share is the wiringinitdropped into.claude/; each teammate runsgraft buildto generate their own graph:Terminal window git add .claude && git commit -m "wire in graft"
No daemon, no re-indexing to remember, nothing to run or maintain by default — the graph is just files.